Cut, Tuck, Taper: A Winter Ropework Primer for the Classic Cockpit
November on the pontoon has its own soundtrack: halyards ticking, a kettle sighing somewhere, and someone muttering at a coil of rope. For classic boat owners, the off-season is not only about tarpaulins and antifouling. It is also the season when small, indoor-friendly skills come into their own. Ropework sits near the top of that list.
You do not need a heated workshop or a fat budget. A fid, a sharp knife, some tape, waxed twine and a spare evening will get you started. And unlike many boat jobs, the results are immediate: a neat splice, a whipped end, a rope that looks cared for rather than merely tolerated.
The winter case for rope
A modern marina can feel a long way from the old working waterfront. There are shore-power posts, Wi-Fi codes and pontoons that look suspiciously tidy. But ropes remain stubbornly traditional. They creak, chafe, swell and dry out. They ask to be handled.
That is why ropework suits the classic boat owner so well. It is seamanship you can hold in your hands. It connects the winter shed to the summer cockpit, and it rewards patience more than expensive kit. A well-made splice is not decoration. It is a practical joint that sheds load, avoids snagging and tells anyone stepping aboard that the owner has spent time with the boat rather than simply buying things for it.
Whip first, splice second
Before you attempt an eye splice, learn to whip a rope end properly. There is little point in making a beautiful splice at one end if the other is fraying into a bad-tempered tassel.
For a simple common whipping, tape the rope end tightly, then lay a loop of waxed twine along the rope. Wrap tight turns towards the end, pass the working end through the loop, and pull the other tail so the loop is drawn back under the turns. Trim neatly. On synthetic rope, melt the very tip with care; on natural fibre, do not wave a flame about. A little practice and the whole job takes minutes.
The usual mistakes are simple ones. People use too few turns. They start loosely and hope the finish will tighten everything. Or they cut the rope before whipping it, then watch the lay unravel while they hunt for the twine. Tie a temporary whipping, or at least tape the end, before you cut. It is the ropework equivalent of measuring twice.
The three-strand eye splice, without drama
Three-strand rope is forgiving and easy to read. You can see the lay, count the strands and learn the rhythm. That makes it ideal for a first proper splice.
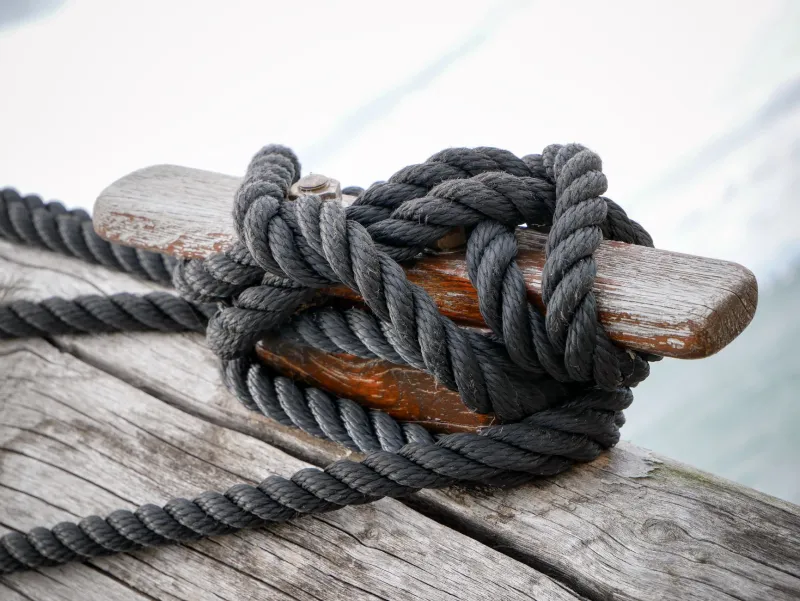
Start by taping the ends of the three strands and unlaying enough rope to form the eye and make your tucks. Form the eye to the size you want, then begin tucking the strands against the lay of the rope. In other words, if the rope twists one way, your strands should go the other. Tuck each strand over one standing strand and under the next, working steadily around. Three full tucks are usually enough for a sound eye, followed by a taper and a final set of tucks with the reduced strands.
The details matter. Keep the strands even. Do not pull one tuck tight while the next is still slack. Taper the ends before the last tucks so the splice beds down smoothly. Then roll it under your foot or work it over a smooth post to settle the lay. A splice should look like it grew there, not like it was wrestled into place.
The common errors are worth knowing before you start. Tucking with the lay rather than against it is the classic beginner's tangle. Short tails make a weak splice. Skipping the taper leaves a lumpy finish that catches on cleats and fingers. And rushing the first tuck usually means undoing everything afterwards.
Rope care is part of the craft
Traditional-looking rope still benefits from modern care. Rinse off salt and grit with fresh water, dry ropes properly before stowing them, and keep them out of long-term sunlight where you can. Inspect for chafe, hardened patches and broken strands. Coil with round turns rather than tight little loops, and avoid leaving a rope permanently jammed against a sharp edge.
It is also worth checking your mooring lines before winter gales rather than during them. A chafed line is not a moral failing; it is simply a line asking for attention. Replace or shorten it before it becomes a story told in the pub with too much dramatic arm-waving.
Pontoon respect
There is an old yard habit of judging a boat by its ropework. Not in a snobbish way, but in the way one notices a tidy shed or a well-kept cockpit. A knot can be undone by accident, or work loose when the tide and wind start arguing. A properly made splice tends to stay put.
One old hand I knew would glance at a borrowed mooring line and say, “I don't mind a knot, but I trust a splice.” He was right. A splice is a small promise that someone thought ahead.
So if the cover is on and the paint is curing, give yourself an evening with a length of three-strand rope. Whip the ends. Make an eye. Learn the taper. Your summer mooring lines, your fenders and your pontoon reputation will all be the better for it.